This article we will install and configure SonarQube on Amazon Linux. Before that, lets get to know little bit about SonarQube and its feature
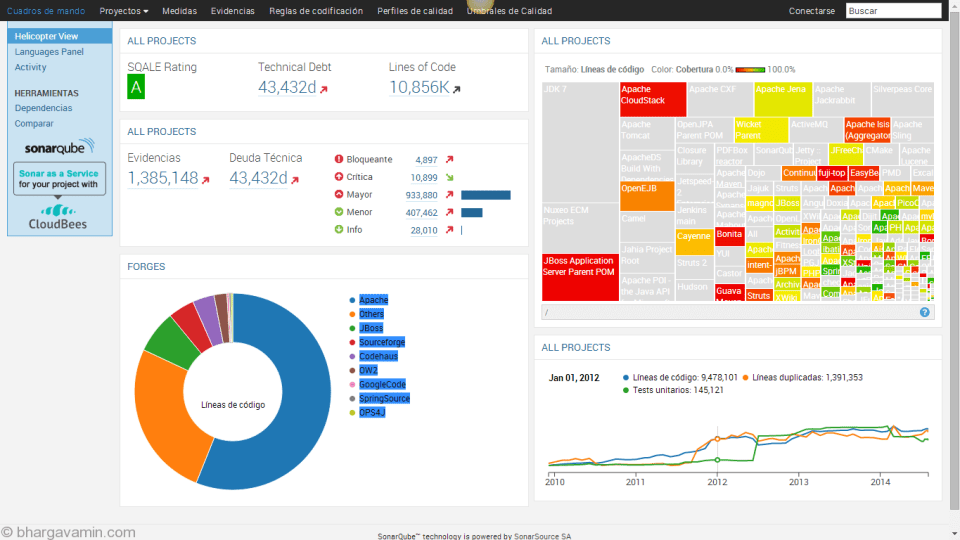
SonarQube is an opensource tool for continuous inspection of code quality. It has features like..
- Code Quality : Check overall health of code and more importantly highlight code related issues which makes it a create tool to check code quality.
- Intelligent bugs detection : It provides code analyzers uses powerful path sensitive dataflow engines which can point mistakes like null deferences, logical errors, resource leanks
- Multi language : It has more than 20 code analyzers for different languages/platforms like C/C++, JavaScript, C#, Java, COBOL, PL/SQL, PHP, ABAP, VB.NET, Python, RPG, Flex, Objective-C, Swift, Web etc;
- DevOps Integration : It can be integrated with CI/CD tools using webhooks and REST APIs.
All of these make it a good tool to have for developers, team leads etc to maintain code quality. Now lets start with the installation of SonarQube on Amazon Linux.
We will deploy SonarQube without any database directly intergrating it with Jenkins and Github.
Step 1 : Download and Install SonarQube
Ensure you have java environment variable set on your system, usually amazon linux has this already preconfigured with it but incase if your using any other distro then I would recommend to do this, you can find reference for the same here.
First add repo using below command
sudo wget -O /etc/yum.repos.d/sonar.repo http://downloads.sourceforge.net/project/sonar-pkg/rpm/sonar.repo
then install SonarQube by running :
sudo yum install sonar
you can start/stop sonar using : sudo service start/stop sonar
Once this is done, you should be able to access SonarQube dashboard via browser with http://<ipaddress>:9000
Step 2 : Install and start MySQL database (Optional)
sudo yum install mysqld
sudo service mysqld start
To configure root password for first time use below command :
sudo mysql_secure_installation
MySQL installation is optional as it not required while integrating it with Jenkins and Git which is what we are trying to do in this series.


Social Profiles