Now our primary focus is on learning WordPress first, Therefore in this article we will Install WordPress on a local system.
There are several ways to install WordPress but we will choose the most less complicated way to work with.
Note : This is for beginners, eventually one will have to install WordPress on a hosted server directly but for that you will need a domain name and a hosting server where you will host your website. For now you don’t need to buy any of these as we will be using local system to host a demo website.
Pre-requisite :
XAMPP stands for cross-platform, Apache, MySQL, PHP and Perl. It’s a simple and lightweight solution that allows you to create a local web server for testing purposes. In-other words it will provide platform to render your website in browser by setting up adequate environment for it.
Download suitable XAMPP for your operating system (Windows/Linux/Mac) from here : https://www.apachefriends.org/download.html
Step 1 : Installing XAMPP
You will have to download XAMPP form above mentioned link the size of file will be 108MB approx. Once downloaded, launch the installer to install XAMPP.
Note : Make sure if you’ve antivirus installed on your system, Disable it for few minutes untill XAMPP is installed successfully.
The XAMPP setup wizard will guide you through the installation. Click Next
After that you’ll get options to select components to be installed as a part of XAMPP installation.
Let it be default and click next.( Apache & MySQL are crucial for WordPress installation hence make sure they are check before moving onto next step)
Note : If you don’t want to install Mail Server or Filezilla just uncheck it and click next

You can select the destination folder to install XAMPP, and proceed ‘Next >’


You might get a pop-up in Windows installation to allow Apache HTTP Server access through firewall(which is necessary), Allow the access and continue.

Now XAMPP is installed, It will now launch Control Panel automatically. If not you can search for ‘XAMPP Control Panel’.

Now normally you won’t find any errors, until your XAMPP installation does not clash with any other service installation.
Here in above picture there is an MySQL error which actually means that as I’ve already installed MySQL server installed manually XAMPP not is able to initialize its MySQL service as the port and configuration file is referring to some other service(Manually installed MySQL server in my case).
Solution :
- Go to Start, type in “services.msc” and select the best match
- Scroll down in the Services window to find MySQL or MySQL56
- Right click on it and select Stop
- This should free up port 3306. When you restart XAMPP it should run without errors
Similarly if you’re having problem with Apache Server which looks something like this :

Solution for that is :
- Go to Start, type in “services.msc” and select the best match
- Scroll down in the Services window to find World Wide Web Publishing Service
- Right click on it and select Stop
- This should free up port 80. When you restart XAMPP it should run without errors
If you find any other error please just ask in below comments section will help you solve it asap!
A error-less XAMPP Control Panel looks like this :

Next step :
Go ahead and ‘Start’ Apache and MySQL service from XAMPP control panel.

You can check if its working on not by just typing : http://localhost in browser. It should open a page something like this..

If you see the same page then your Apache server is running successfully.
Setup MySQL database :
Now you have to setup MySQL database to install WordPress.
Switch back to control panel and click on ‘Admin’ button to open ‘phpmyadmin’ panel in browser.


Now Create database for WordPress :

Download WordPress setup :
Go to : https://wordpress.org/download/
Download wordpress setup, Next just unzip the folder and place it in htdocs directory where XAMPP is installed.

Open the wordpress folder where you saved WordPress, find the wp-config-sample.php file and rename it wp-config.php. Open the file and scroll down until you see the following lines:

These lines of code define the login details for your database:
- Replace“database_name_here” with the name of your database, which in my case is “wordpress_database”
- Replace “username_here” with “root” and leave “password_here” blank
- Save the file and close it
Well! Your now ready to get started with WordPress!
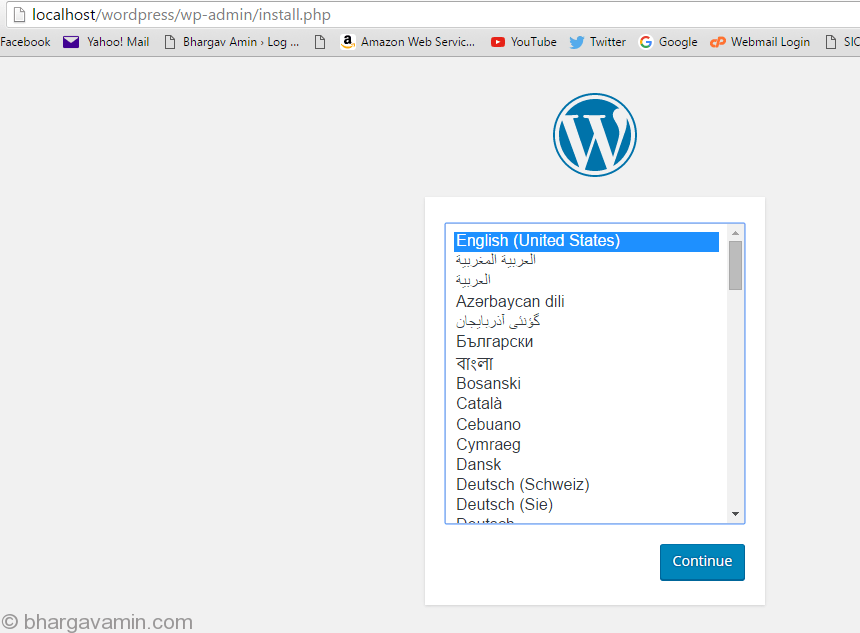
Go to browser type : http://localhost/wordpress


If everything is configured as mentioned above you’ll receive a success page .


That’s it! You can now explore the other options like customizing the website and all.
Note : Everytime to turn off/on your system you’ll need to start Apache and MySQL from XAMPP Control Panel then only you’ll be able to open in your wordpress dashboard in browser
You can open site by typing http://localhost/wordpress/.
Things to expect from next blog : Exploring WordPress Dashboard.
Thank you for reading! 🙂
If any queries or doubts please write to : contact@bhargavamin.com or comment below.


Social Profiles